I’ve been meaning to share this post with you all summer and never managed to get around to it. I’m not sure what took me so long, since this pretty girl has been sitting in my living room since Mother’s Day. For those of you who don’t know, Josh poured concrete to put himself through college and eventually starting his own business when we were newlyweds (didn’t I say all of this last week?). When the housing market took a nosedive, he got a great job in human resources and has been working from home ever since. Several months ago, he started reading about a concrete product he had never worked with before. It’s reinforced with fiberglass particles, which makes it very strong and much lighter than conventional concrete.
We’ve always know that if we ever get into our forever house, we want a lot of concrete work. I don’t want anything too modern or cold, but I’d love concrete countertops and floors in my kitchen and a really special concrete fireplace in our living room. Josh had been toying around with the idea of doing some decorative work on the weekends, so when he asked if I wanted him to build me a concrete table, I wasn’t the least bit surprised. He took me out to dinner and to Home Depot on a date night right before Mother’s Day. We looked at pipe fittings and were toying around with building a cast iron table base. After building it in the aisle at HD to check the sizes on everything, we decided to throw it all in the shopping cart and call it a day. He ordered the remaining materials that week and the next Sunday afternoon we started playing with all of our new supplies in the barn.

I’m not sure I would call this a “DIY” project or to suggest that it’s an inexpensive way to make something yourself. It was neither. The mixing process for this particular kind of concrete, closely resembles chemistry and I’m not sure we could have pulled it off if he didn’t have a construction background. Also, it cost us about $700. I literally hate typing that because I feel like it makes me sound frivolous or like I spend $700 on random pieces of furniture on a regular basis, but I promise that isn’t the case. The table would likely cost $1500-2000 if we were to sell them, so I clearly got a deal. The concrete additives ship from across the nation and the transit costs along were triple digits. We decided to spend the money because we knew it would be a piece we loved and he needed a few prototypes if he was going to consider any future business.
I’m not even going to attempt giving you step-by-step instructions here, because that would suggest I have any idea what he’s doing down there. I did help him when he asked me to, but mostly I squealed a lot and took pictures. At the end of the day, I have a beautiful new coffee table that my husband built and that’s kind of my favorite thing ever. We built it knowing it was too big for our current living room and existing furniture, but I hope to get to tell you she has a new home in the very near future! I have all sorts of plans for this pretty girl at the new house.
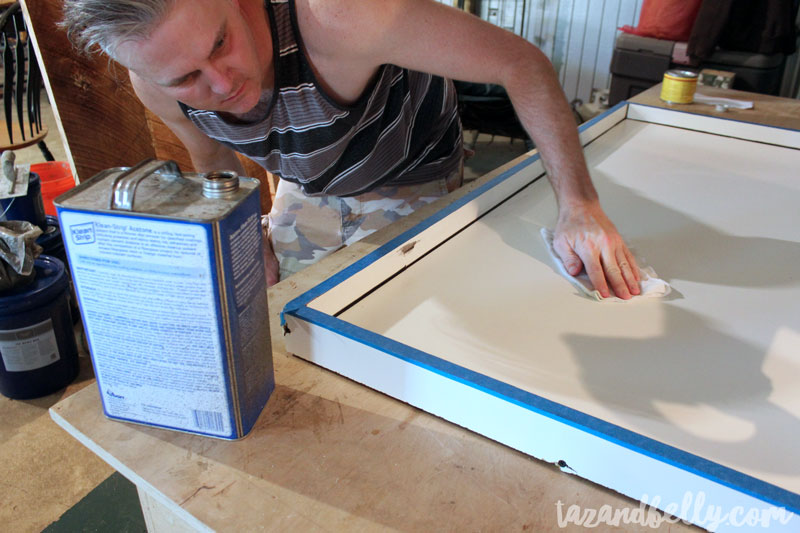
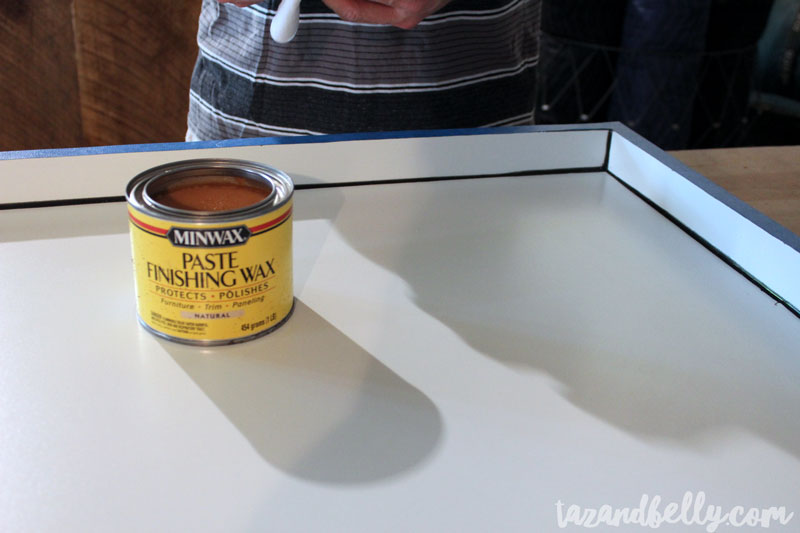
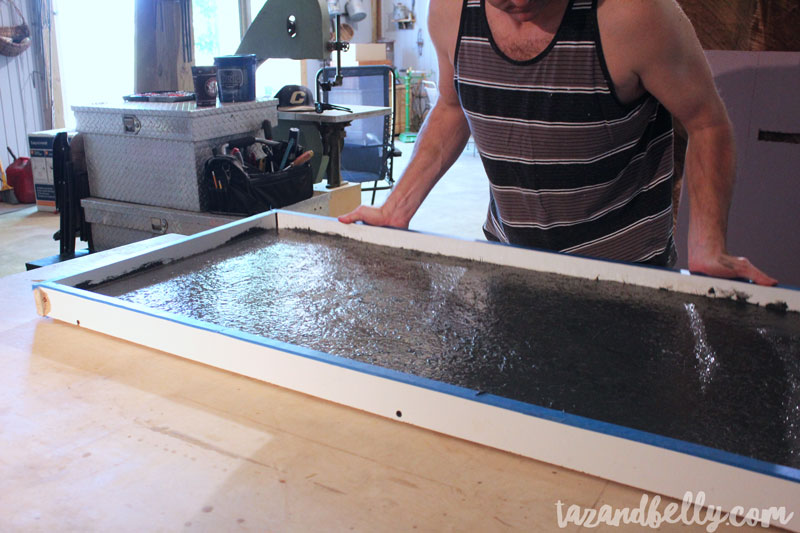
I do know that the first thing he did was to build a form out of melamine and caulk the edges. He cleaned it up really well because any inconsistencies can cause a chemical reaction with the color additives and we wanted the color to be as consistent as possible. We tinted this concrete a dark charcoal color — natural concrete would have been much lighter. After finishing the form, we waxed it so that the table would pop out rather easily after everything had hardened.
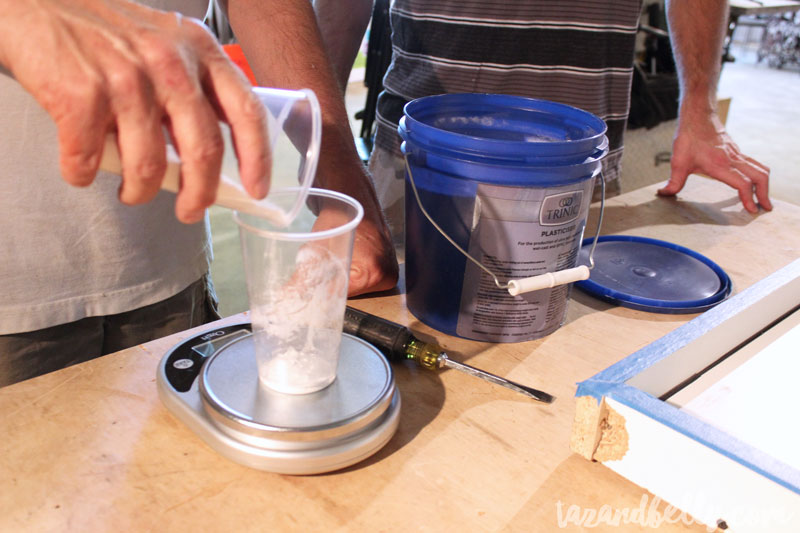
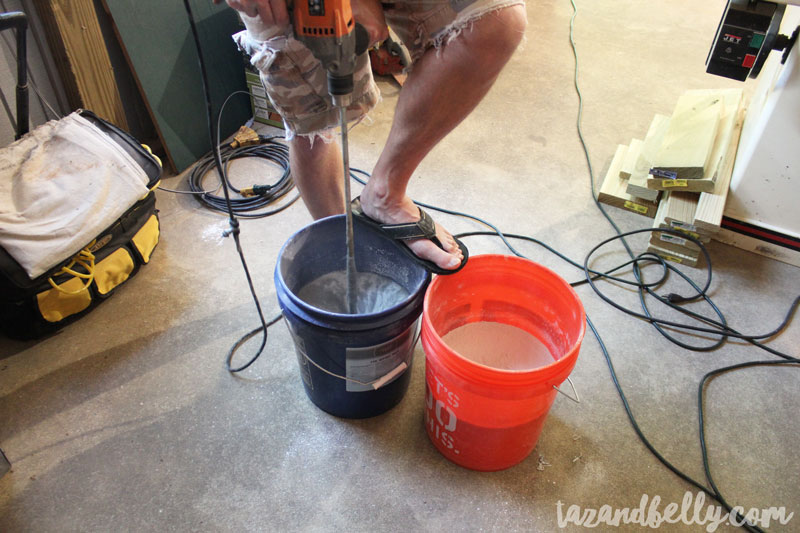
Then came the chemistry part. We had to use a kitchen scale to measure everything, keeping it all as precise as possible.
I obviously recommend that you wear real shoes…
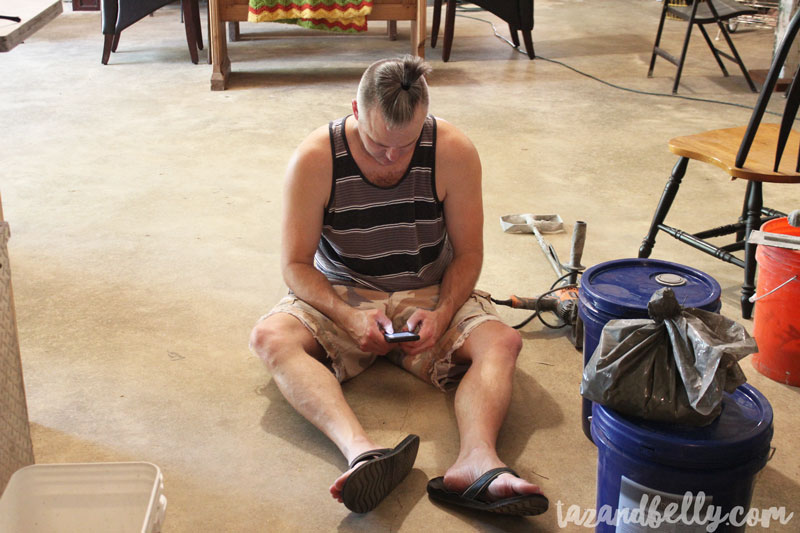
It was blazing hot in the barn, so Josh pulled his hair back in a ponytail. I figured he would kill me for snapping these photographs, but he’s usually a good sport where the blog is concerned.
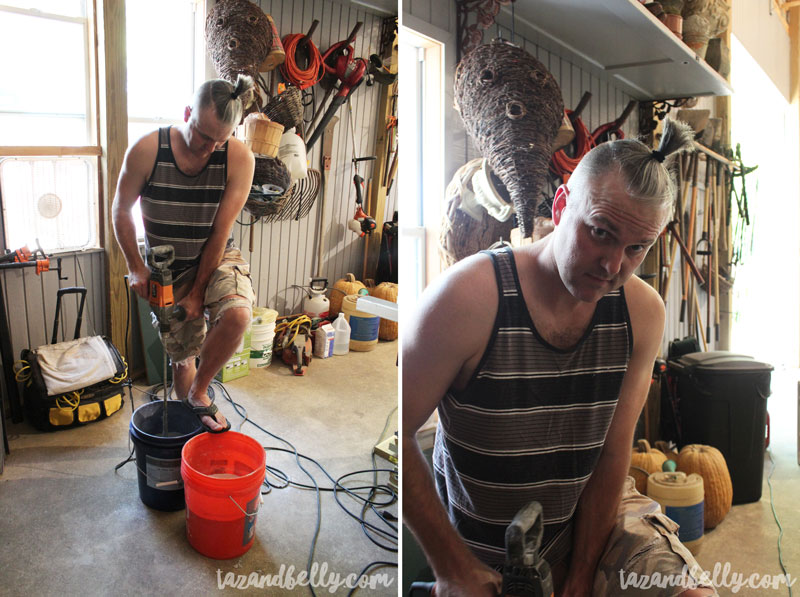
You can see the fiberglass particles pretty well in the photographs below. It was very fibrous and it didn’t look like you’d be able to achieve a smooth finish at all, but it’s like magic! The fibers rise towards the top, leaving the bottom of the form (the top of the table) nice and smooth.

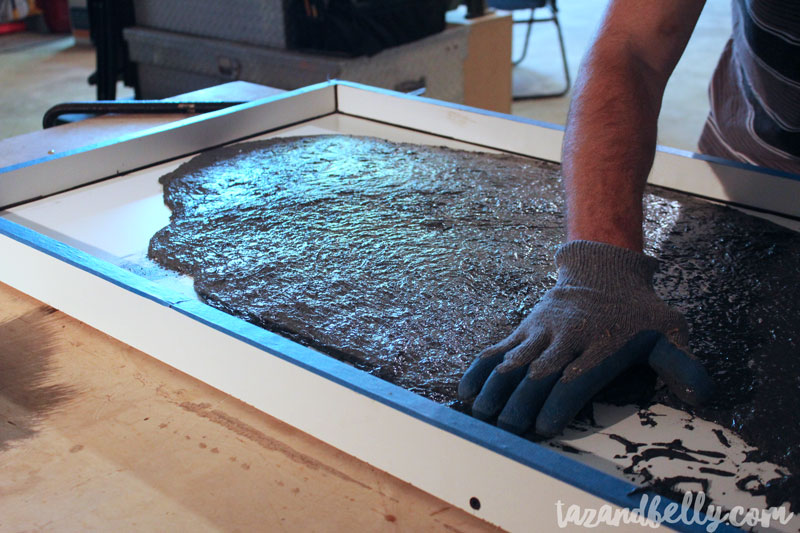
Once the form was half full, Josh shook it a good bit to release any air bubbles and to fill in any gaps.
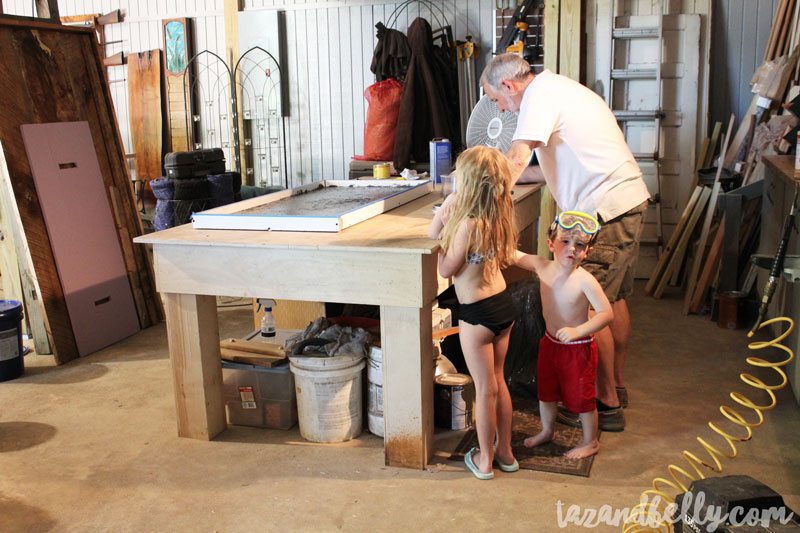
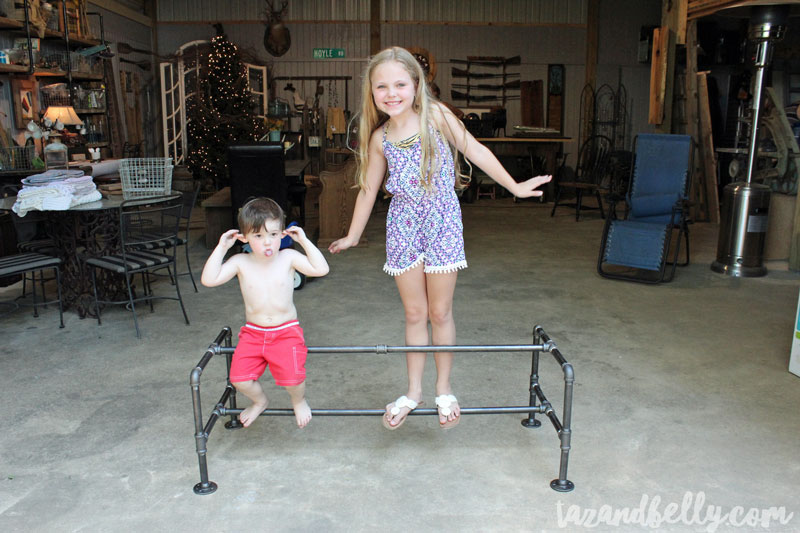
We had WAY more help that we actually needed that day, although Poppy was a much better helper than most.
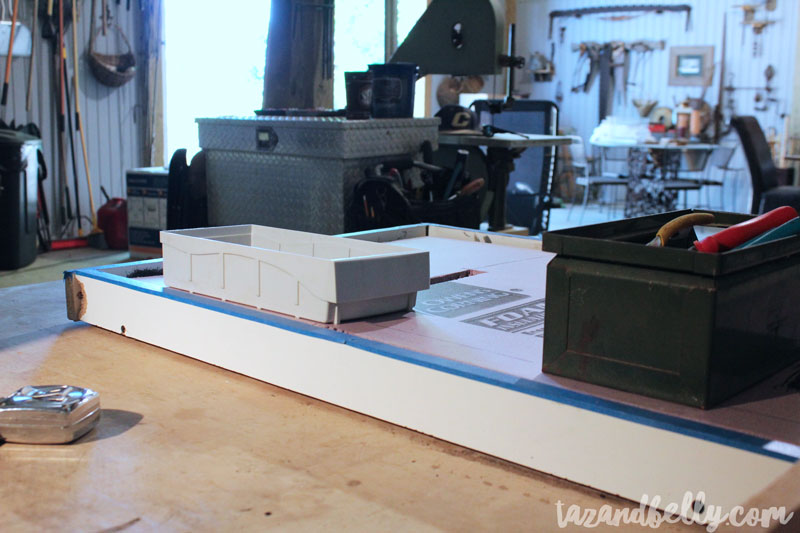
After the first layer set up a bit, we added 3/4″ foam insulation to the inside of the table. Since I wanted a really thick table, this helps eliminate some of the weight, while still giving me a beefy edge! We cut a few holes in it so there would be “columns” of solid concrete throughout. That helped with the strength factor and gave us a few places to secure the tabletop to the base.

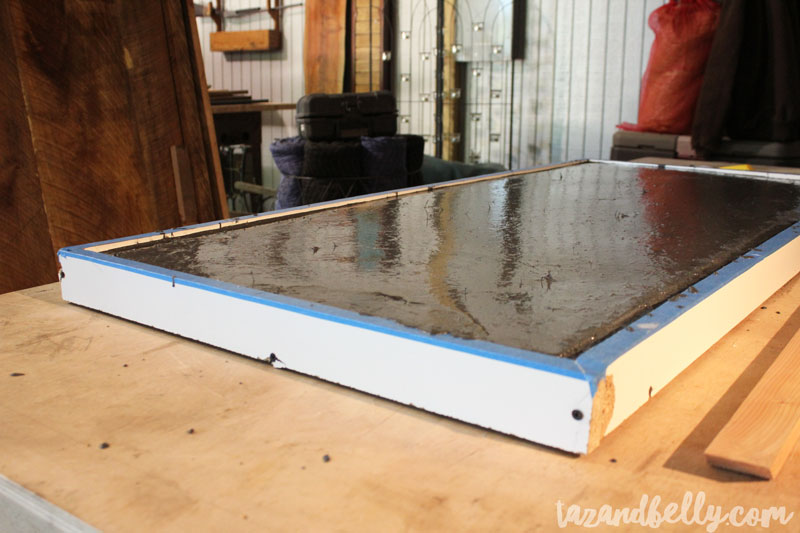
Once it was all poured, we waited. The other pro to using this GFRC concrete is the drying time. She was all ready to come out of the form by the next day!
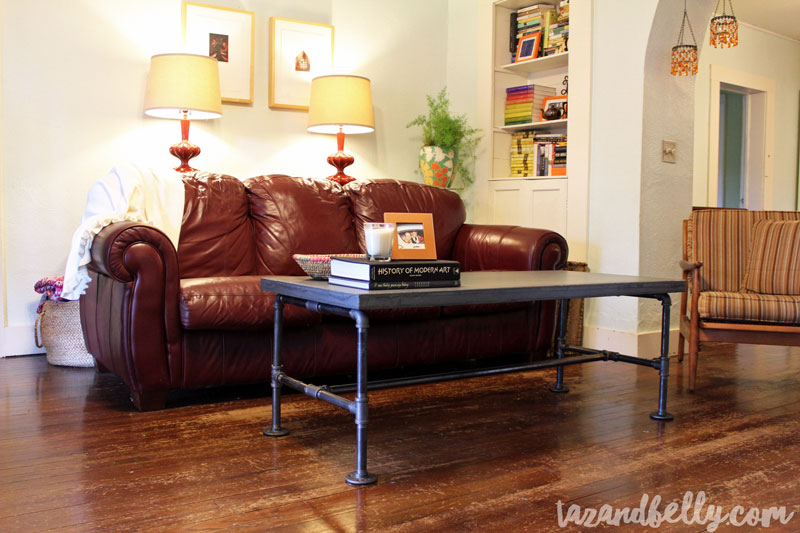
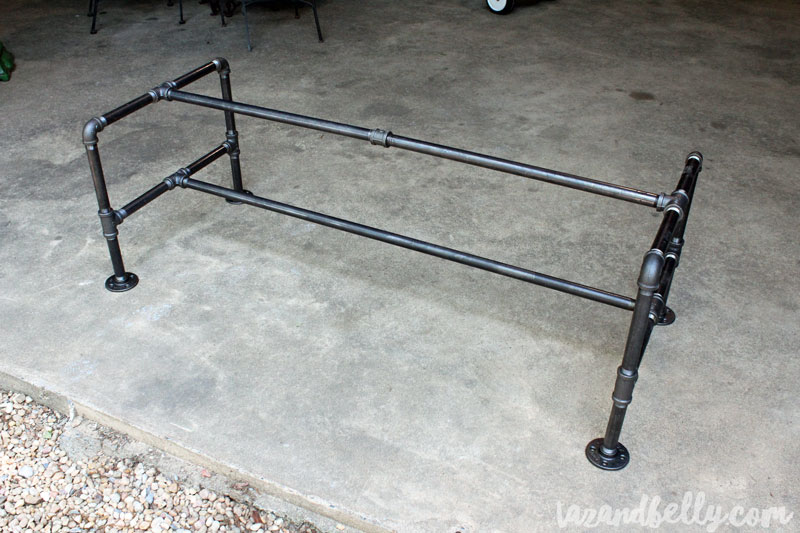
While we were watching concrete dry (literally) we whipped up the table base with our pre-cut cast iron pipe fittings. We talked about several different options for the base, but I wanted something a little industrial and I didn’t really want any wood. The new house is log, so there will be a lot of wood already. I want to incorporate as many other materials, as possible, for that reason. I love how this turned out so much, that I’m dreaming up a pipe fitting bed frame as we speak. Maybe we should tone it down on the concrete and pipe fittings just a bit… or maybe not.
Seriously, how cool does that look?!
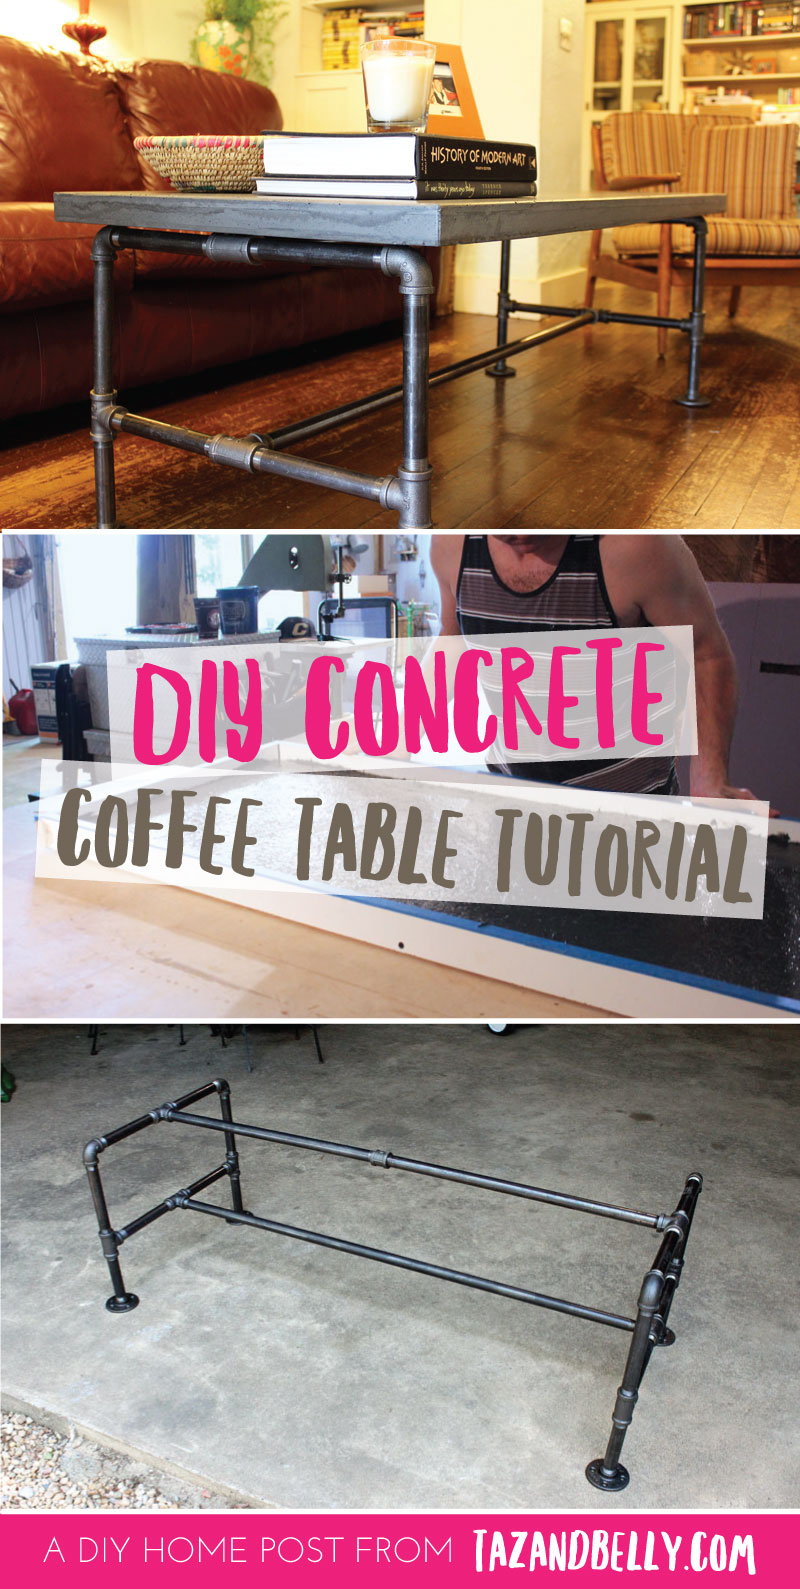
click to pin our diy concrete coffee table!
We get tons of compliments on our table and I’m so pleased with how it turned out. The color and finish are exactly what I wanted, but nothing is too precious or perfect. I got bent out of shape a few times in the beginning when the girls would spill something or fail to use a coaster, but it has held up really well all summer and I know it will only look better with time. Now where are my concrete countertops?!