This post contains affiliate links, meaning any purchases made using these links will earn Taz + Belly a small commission. You can read more about our affiliate relationships here.
Each week, I share a series of baby bump photos on Instagram + Instagram Stories, and then later post them here as a part of my monthly bumpdate series. I’ve had a few questions here, but so many people have asked on Instagram, how I’m managing to take them myself, make them look like I have a massive white wall, and keep them all so consistent. I hesitate to share a true tutorial, because everyone’s homes are different, we don’t all have the same photography equipment or skills, and the majority of us don’t have a white wall with perfect lighting. Instead, I thought I’d show you how I pull off this weekly photo shoot and hope it inspires you to try one of your own. It doesn’t have to be for bump photos either — this same process would work just as well for your #ootd posts!

Just for reference, I’m shooting all of my photos with my Sony a6000 and you can find all of the details on the camera and why I love it, here.
Way back when I was pregnant with Sophie, my sister and I lived next door to one another. She would come over every week (or I would run by her house) and we would take a series of maternity photos for the blog. I posted the more finished version, with a few paragraphs about how our pregnancy was going, and she shared the outtakes on her photography site. We used more props back then and even Ella (and Beemer!) got in on the action, but the general concept was pretty similar. When I got pregnant this time, I knew I wanted to capture a weekly image of my growing bump, but I wanted it to be a little different. And because my sister now has a family of her own and not nearly as much disposable time, I figured I would try to do it on my own. My photography skills don’t compare with hers, but I’m decent enough with the camera to pull it off. I have loved being able to look back at the changes my body has made and I’m sure baby will appreciate all of the photos, one day, too!
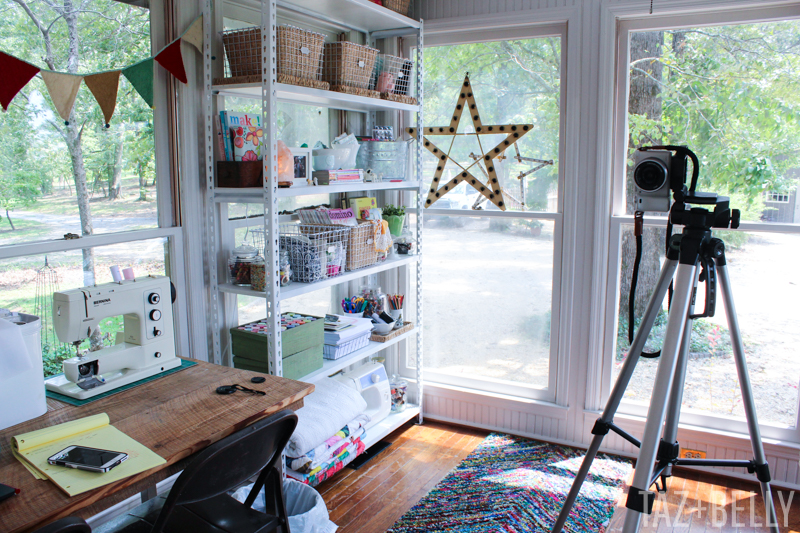
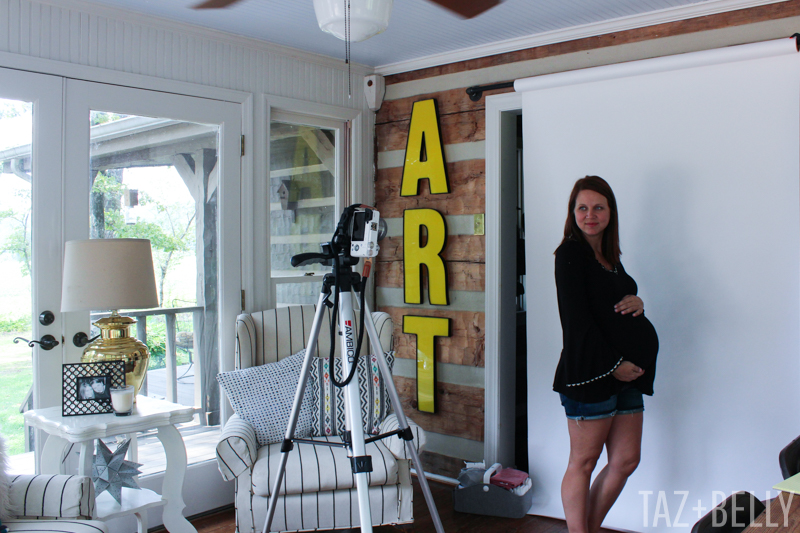
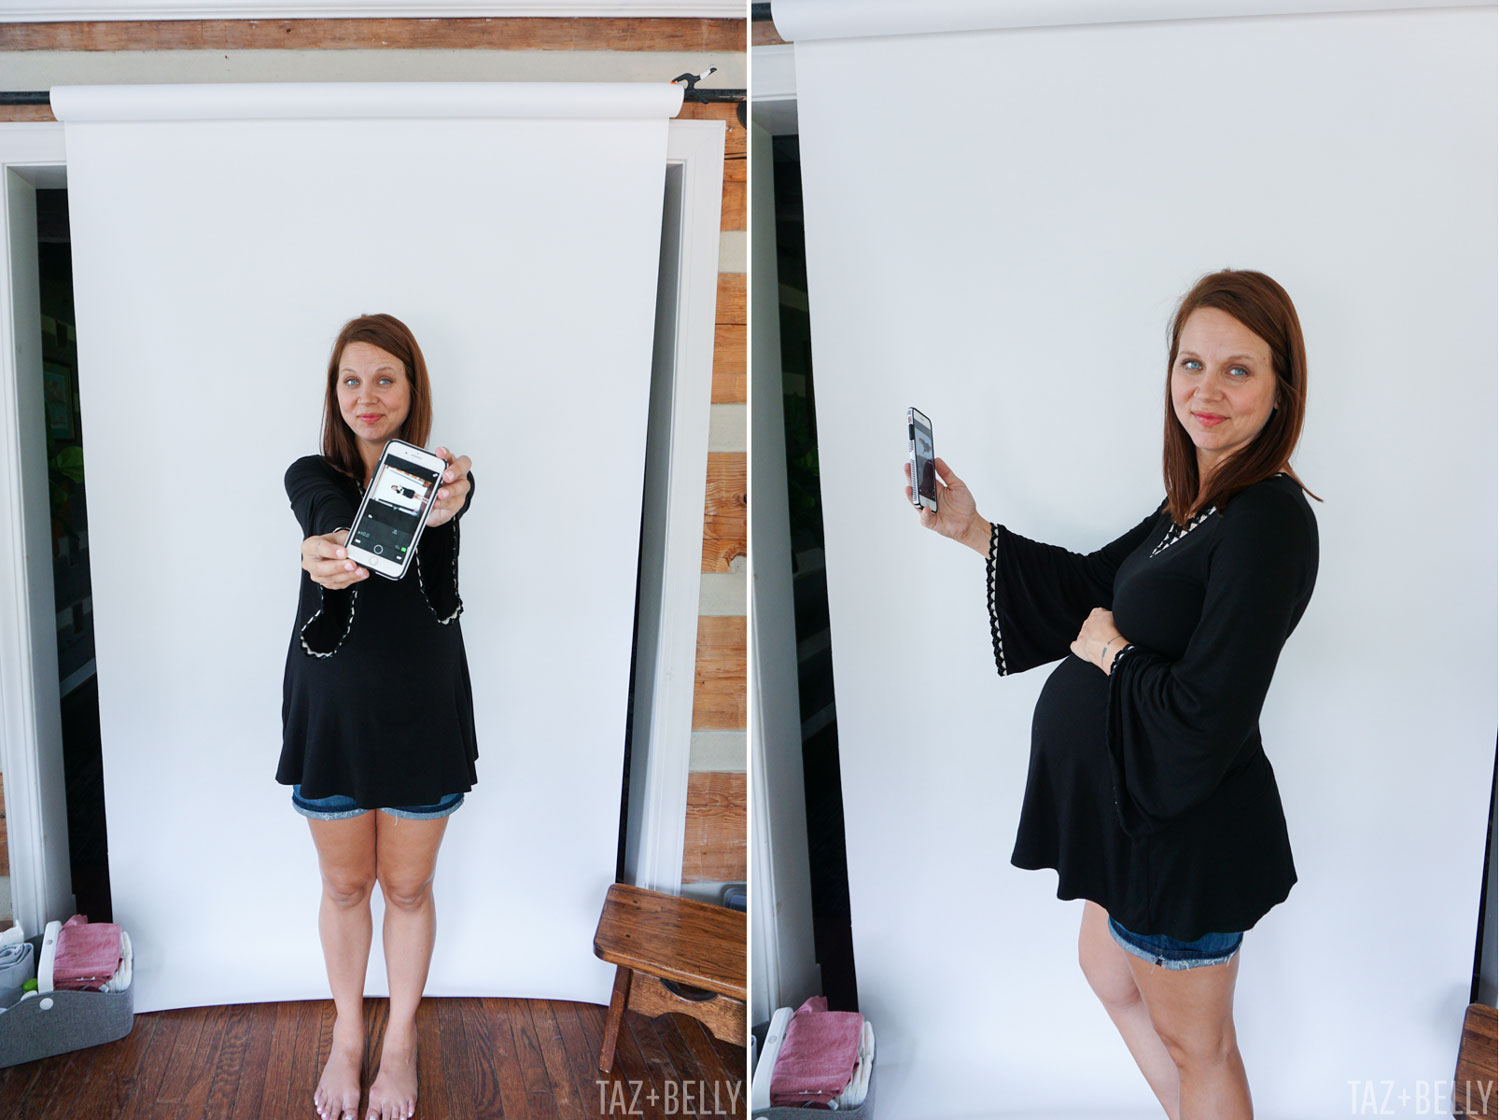
The first, and most frequent, question I get is where I’m taking the photos. I think everyone naturally assumes that I have a well-lit, white wall in my home, but that couldn’t be further from the truth. Our home doesn’t have nearly as many windows as I’d like and because the logs are still stained a dark grey, it’s really hard to take good photographs inside. Instead, I ordered an inexpensive roll of white seamless photo background and we’ve been putting it up and down since February. We started out with it on this frame, but it was in the way and too hard for me to maneuver once I got pregnant. I’ve also used it taped to the wall (and the side of my camper while on vacation), but Josh recently hung it over the doorway in our sun room. Because this room gets light on three sides, it makes the perfect studio with tons of natural light. You could easily replicate this by hanging it across from a large window or on your porch — just make sure there isn’t any direct sunlight or you’ll have nasty shadows. I try to take my photos in the middle of the day, when the sun is directly above our home.
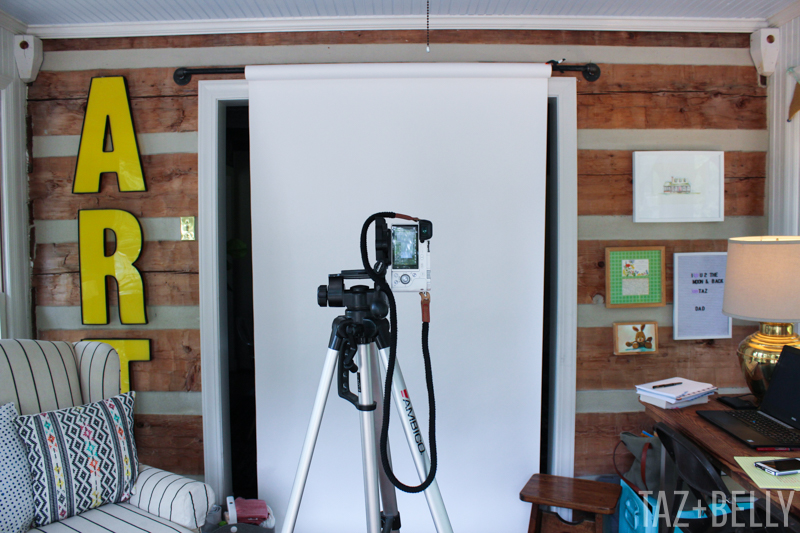
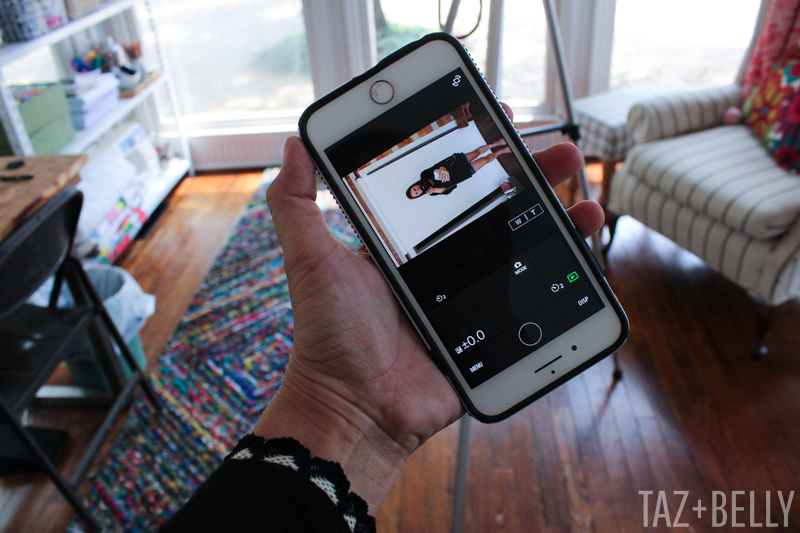
I set my camera up on a tripod, pretty close to the white seamless, because I’m only interested in capturing my body from the knees up. I try to take it from the same angle every week, so that it’s easier to make them all appear consistent, once edited.
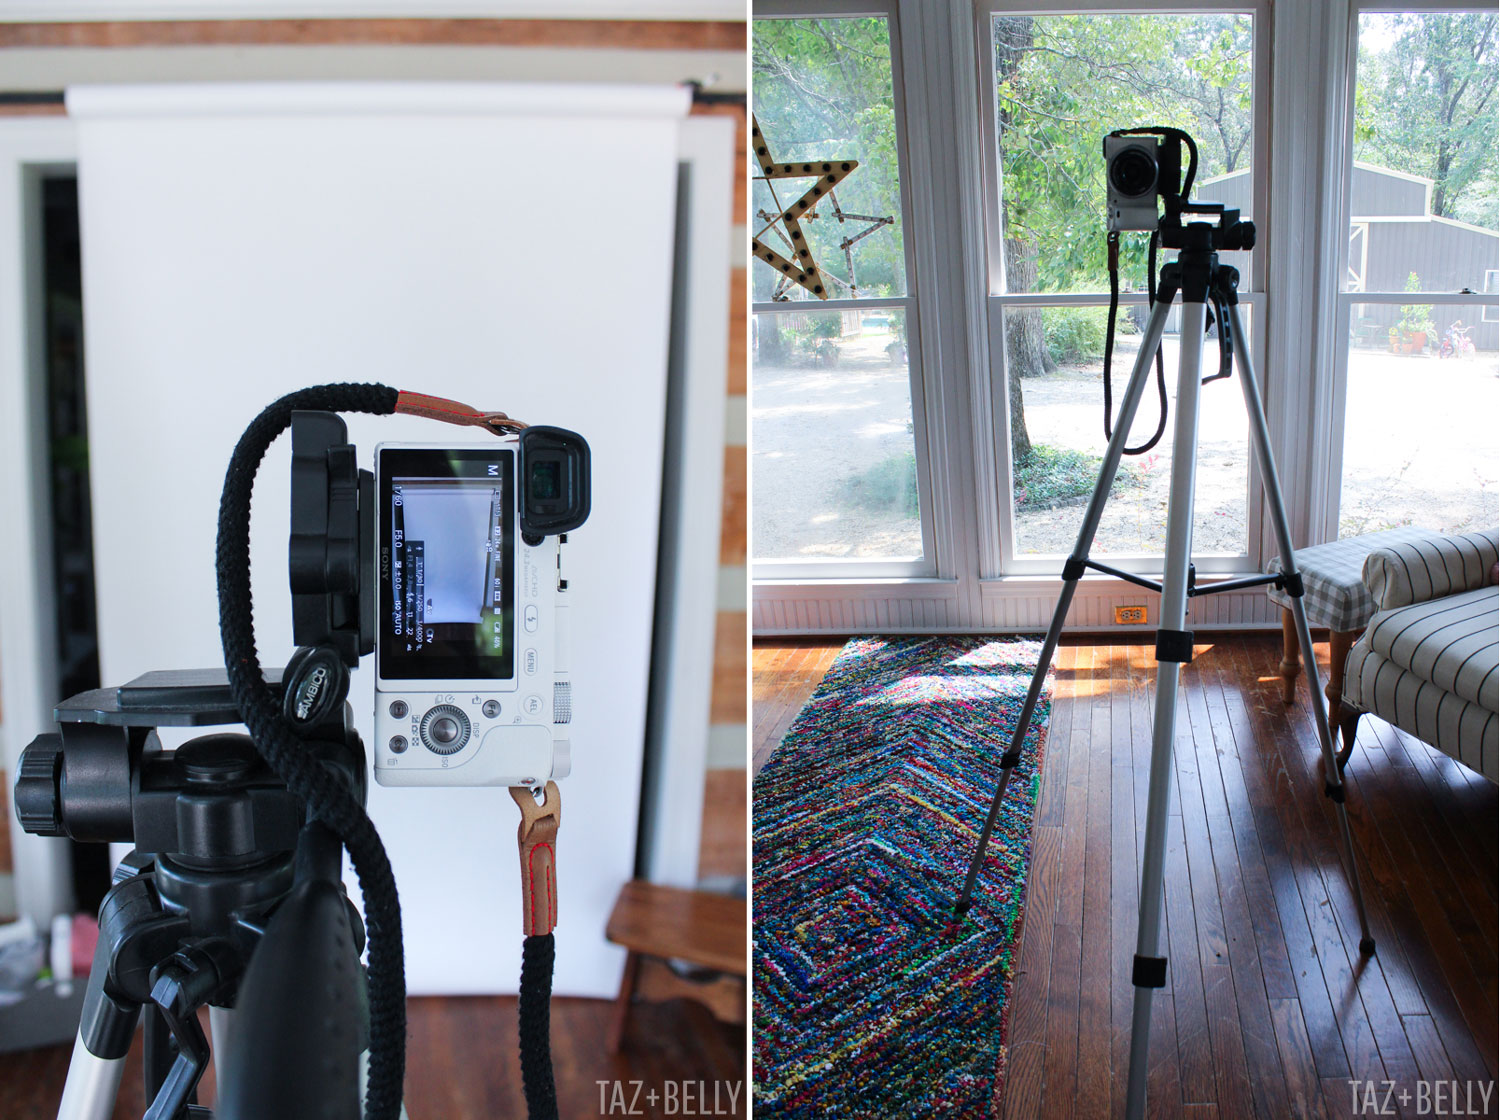
You can see in the photo below, how bright everything looks in this room — especially in the middle of the day!
The only downside to my new camera is that it doesn’t work with a handheld remote control shutter release. Instead, I use the Sony app to frame and snap my photos with a two second delay. It isn’t perfect — I often have to toss the phone into the chair next to me — but I’m learning to get around it!
If the girls are home, I usually just get one of them to hold the phone and snap it for me. The upside to this entire process, is that the full size photos are saved on my camera card and a reduced version is already on my phone for Instagram and Facebook.
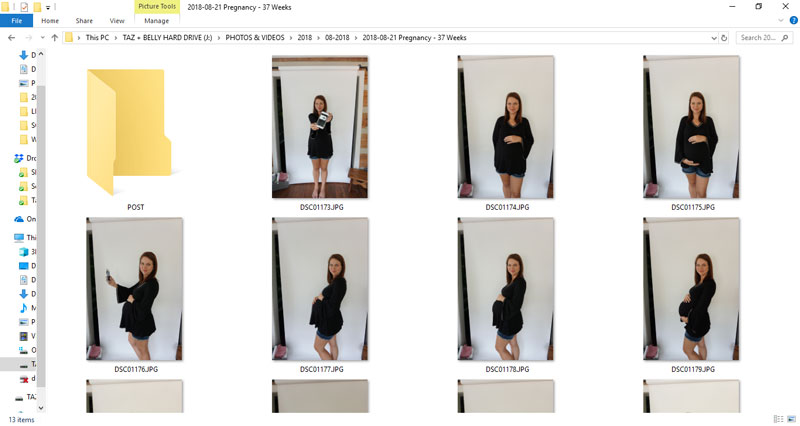
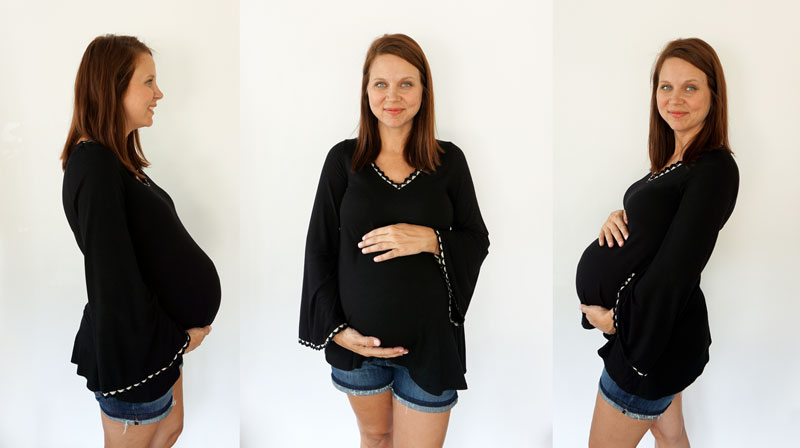
My goal is to get 2-3 photos of each pose — forward facing, facing left, and facing right — before calling it quits. I like to have plenty to choose from and you never know when you’ll get one that is out of focus or the sun shifts at just the wrong moment. You can see in the gallery screenshot below, that there is a wide margin in the photos, so we’ll need to do some creative cropping and editing to get exactly what will be posted on the blog.
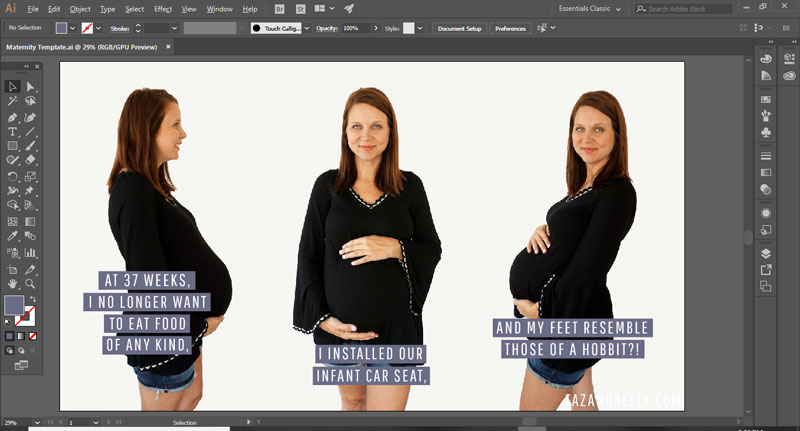
Before I talk about exactly how I edit, know that you don’t need any fancy software to make this happen. I use Lightroom, Photoshop, and Illustrator for almost every blog and Instagram post, because it’s what I’m most familiar with. I was a graphic design major in college and I use those same programs for some of the work I do at my day job, so I already have them available on my computer to use. For the images I share on Instagram, though, I often edit them on the fly using apps like VSCO or Snapseed and you could easily add the text in something like Canva or the Over app. You could also use the Retouch app to remove any extra background that you can’t crop out — it will just replace it with the background color and you’ll never know the difference (I do this for the Instagram Square!).
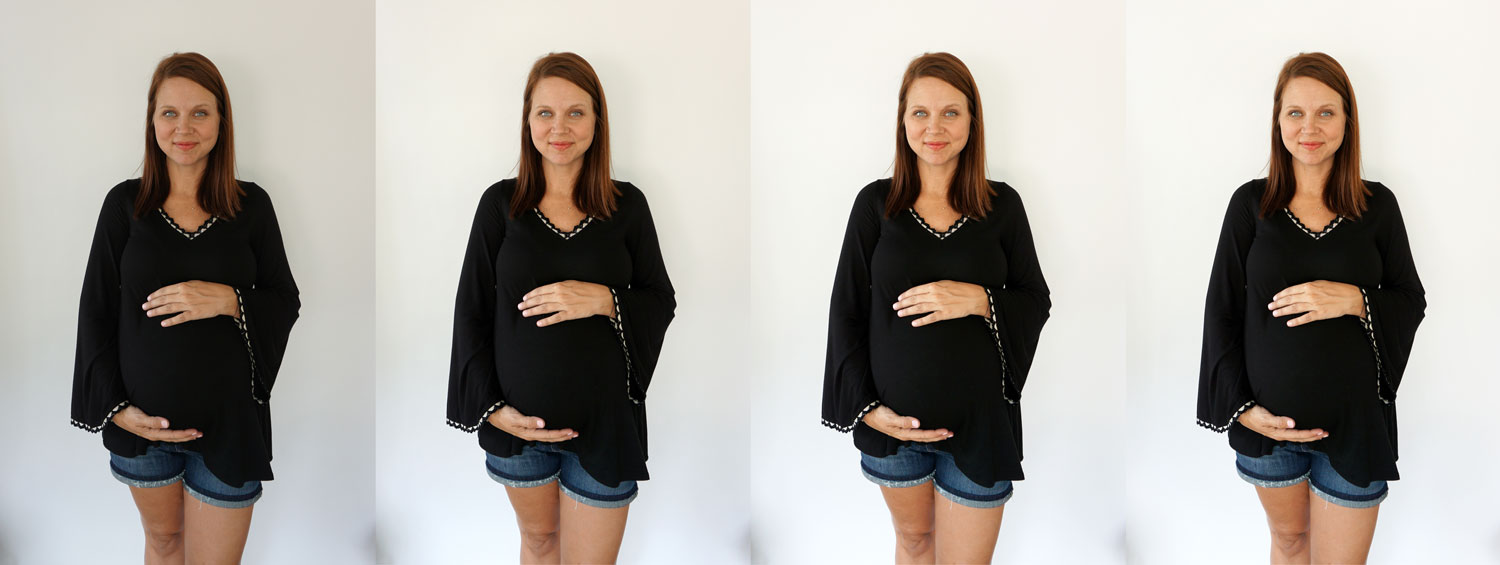
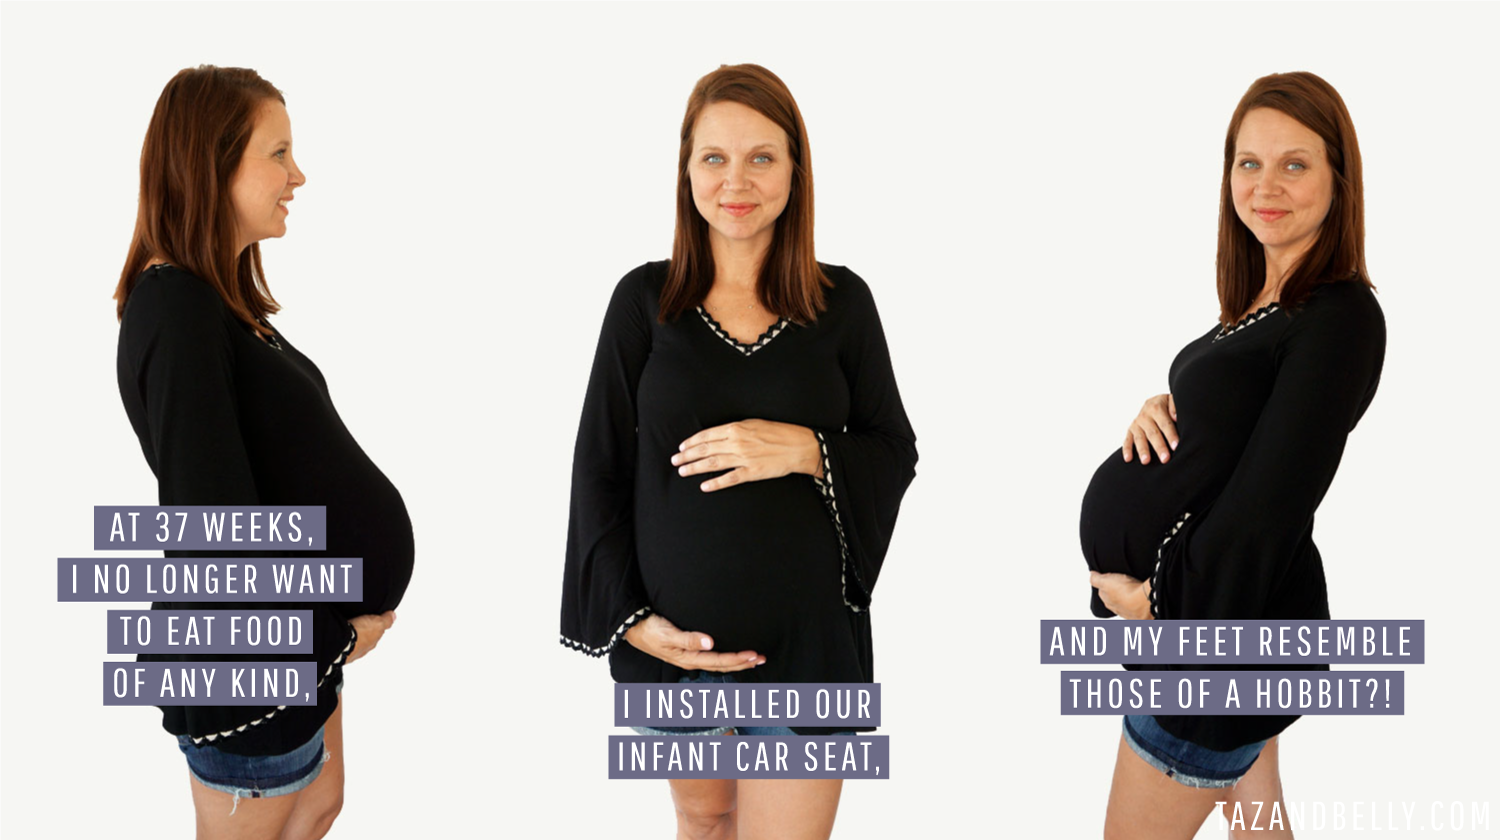
The series below shows exactly how the photos progress from straight out of the camera (SOOC) to the finished photo on the right. The first frame shows how the image was cropped and straightened — I always want to capture from the knee up and leave a decent space above my head. In the second frame, I’ve used the Photoshop Levels tool to close the range between the darkest blacks and lightest whites. In the third frame I’ve increased the overall brightness in the photo and the last frame shows that I’ve reduced the shadows in the lower corners (the furniture in my sun room always cause a shadow there.
Once I’ve chosen all three images and edited them, using the same tools, I pull them into a single document. I save the template from the previous week and use that to build the next week. This helps to make sure I’m in the same general place from week to week and that I’m showing the same part of my body in each panel. Again, part of what I love about these is the consistency from week to week!

From there, I use the Magic Wand Tool in Photoshop to select all of the white background space in the image. You can see in the photos above and below, that even though I edit them as similarly as possible, there is some variation in the color of the background. In addition to the Magic Wand Tool, I might have to tweak the selection using the Lasso tool, to make sure that I’ve gotten as close to my body as possible, in every shot. Once it is properly selected, I fill the selection with the lightest color that I could sample from the background (in this instance, the background surrounding the middle image). You could fill it with 100% white, but you would look like you were floating on a white square. The slightly grey tone makes it a little more believable.
Filling the background in this way also eliminates those ugly shadows near the bottom of the frame. You can see that the changes between the photos above and below are subtle, but they still manage to make a huge difference?!

Once I have each individual photo saved, the panel created, and a square version cropped for Instagram — I move on to add the text in Adobe Illustrator. Again, I save the template each week and just drop the new photo into the background. This keeps the watermark in exactly the same place, makes sure the text is the same font size from week to week, and keeps me from duplicating the same information (and colored boxes!) two weeks in a row.
Once I have the text laid in, I export it as a .png file — this renders the added text much clearer than a .jpg would — and upload it to WordPress to share in my next bumpdate post. I also crop it three different times, so that I can post the individual slides to Instagram Stories on the same day I share my bump photo in my grid.
While it is a multi-step process, it isn’t difficult and now that I’ve established a template and a rhythm for how I’ll edit the photos each week, it goes much faster than it did in those early weeks. If you have any questions or there is something I’ve failed to mention, please let me know in the comments and I’ll do my best to edit the post to make it clear!
Scallop Crochet Trim Long Sleeve Maternity Top c/o Pink Blush Maternity
WAIT – you thought I was done, but I wasn’t! One of the most important parts of taking these photos each week, is what I wear. I made the mistake in the beginning (multiple times, actually) to be wearing really light or white tops when I took the photos. It’s honestly something I didn’t think much about, until it came time to edit them. Just imagine trying to color select a white background when you are also wearing white. Spoiler alert: the editing process takes much, much longer.
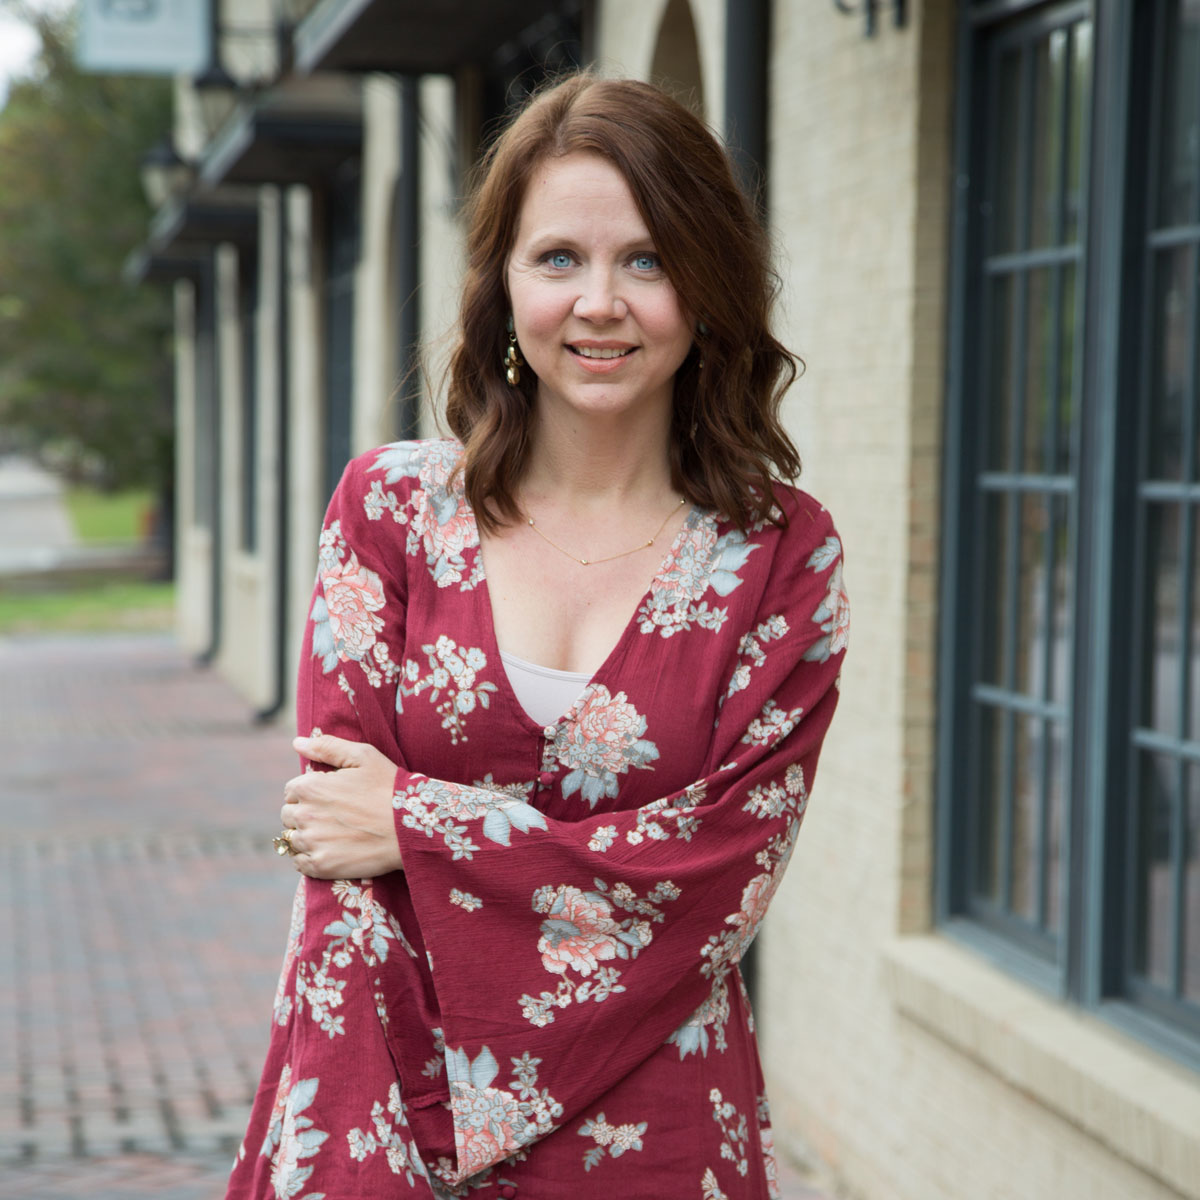
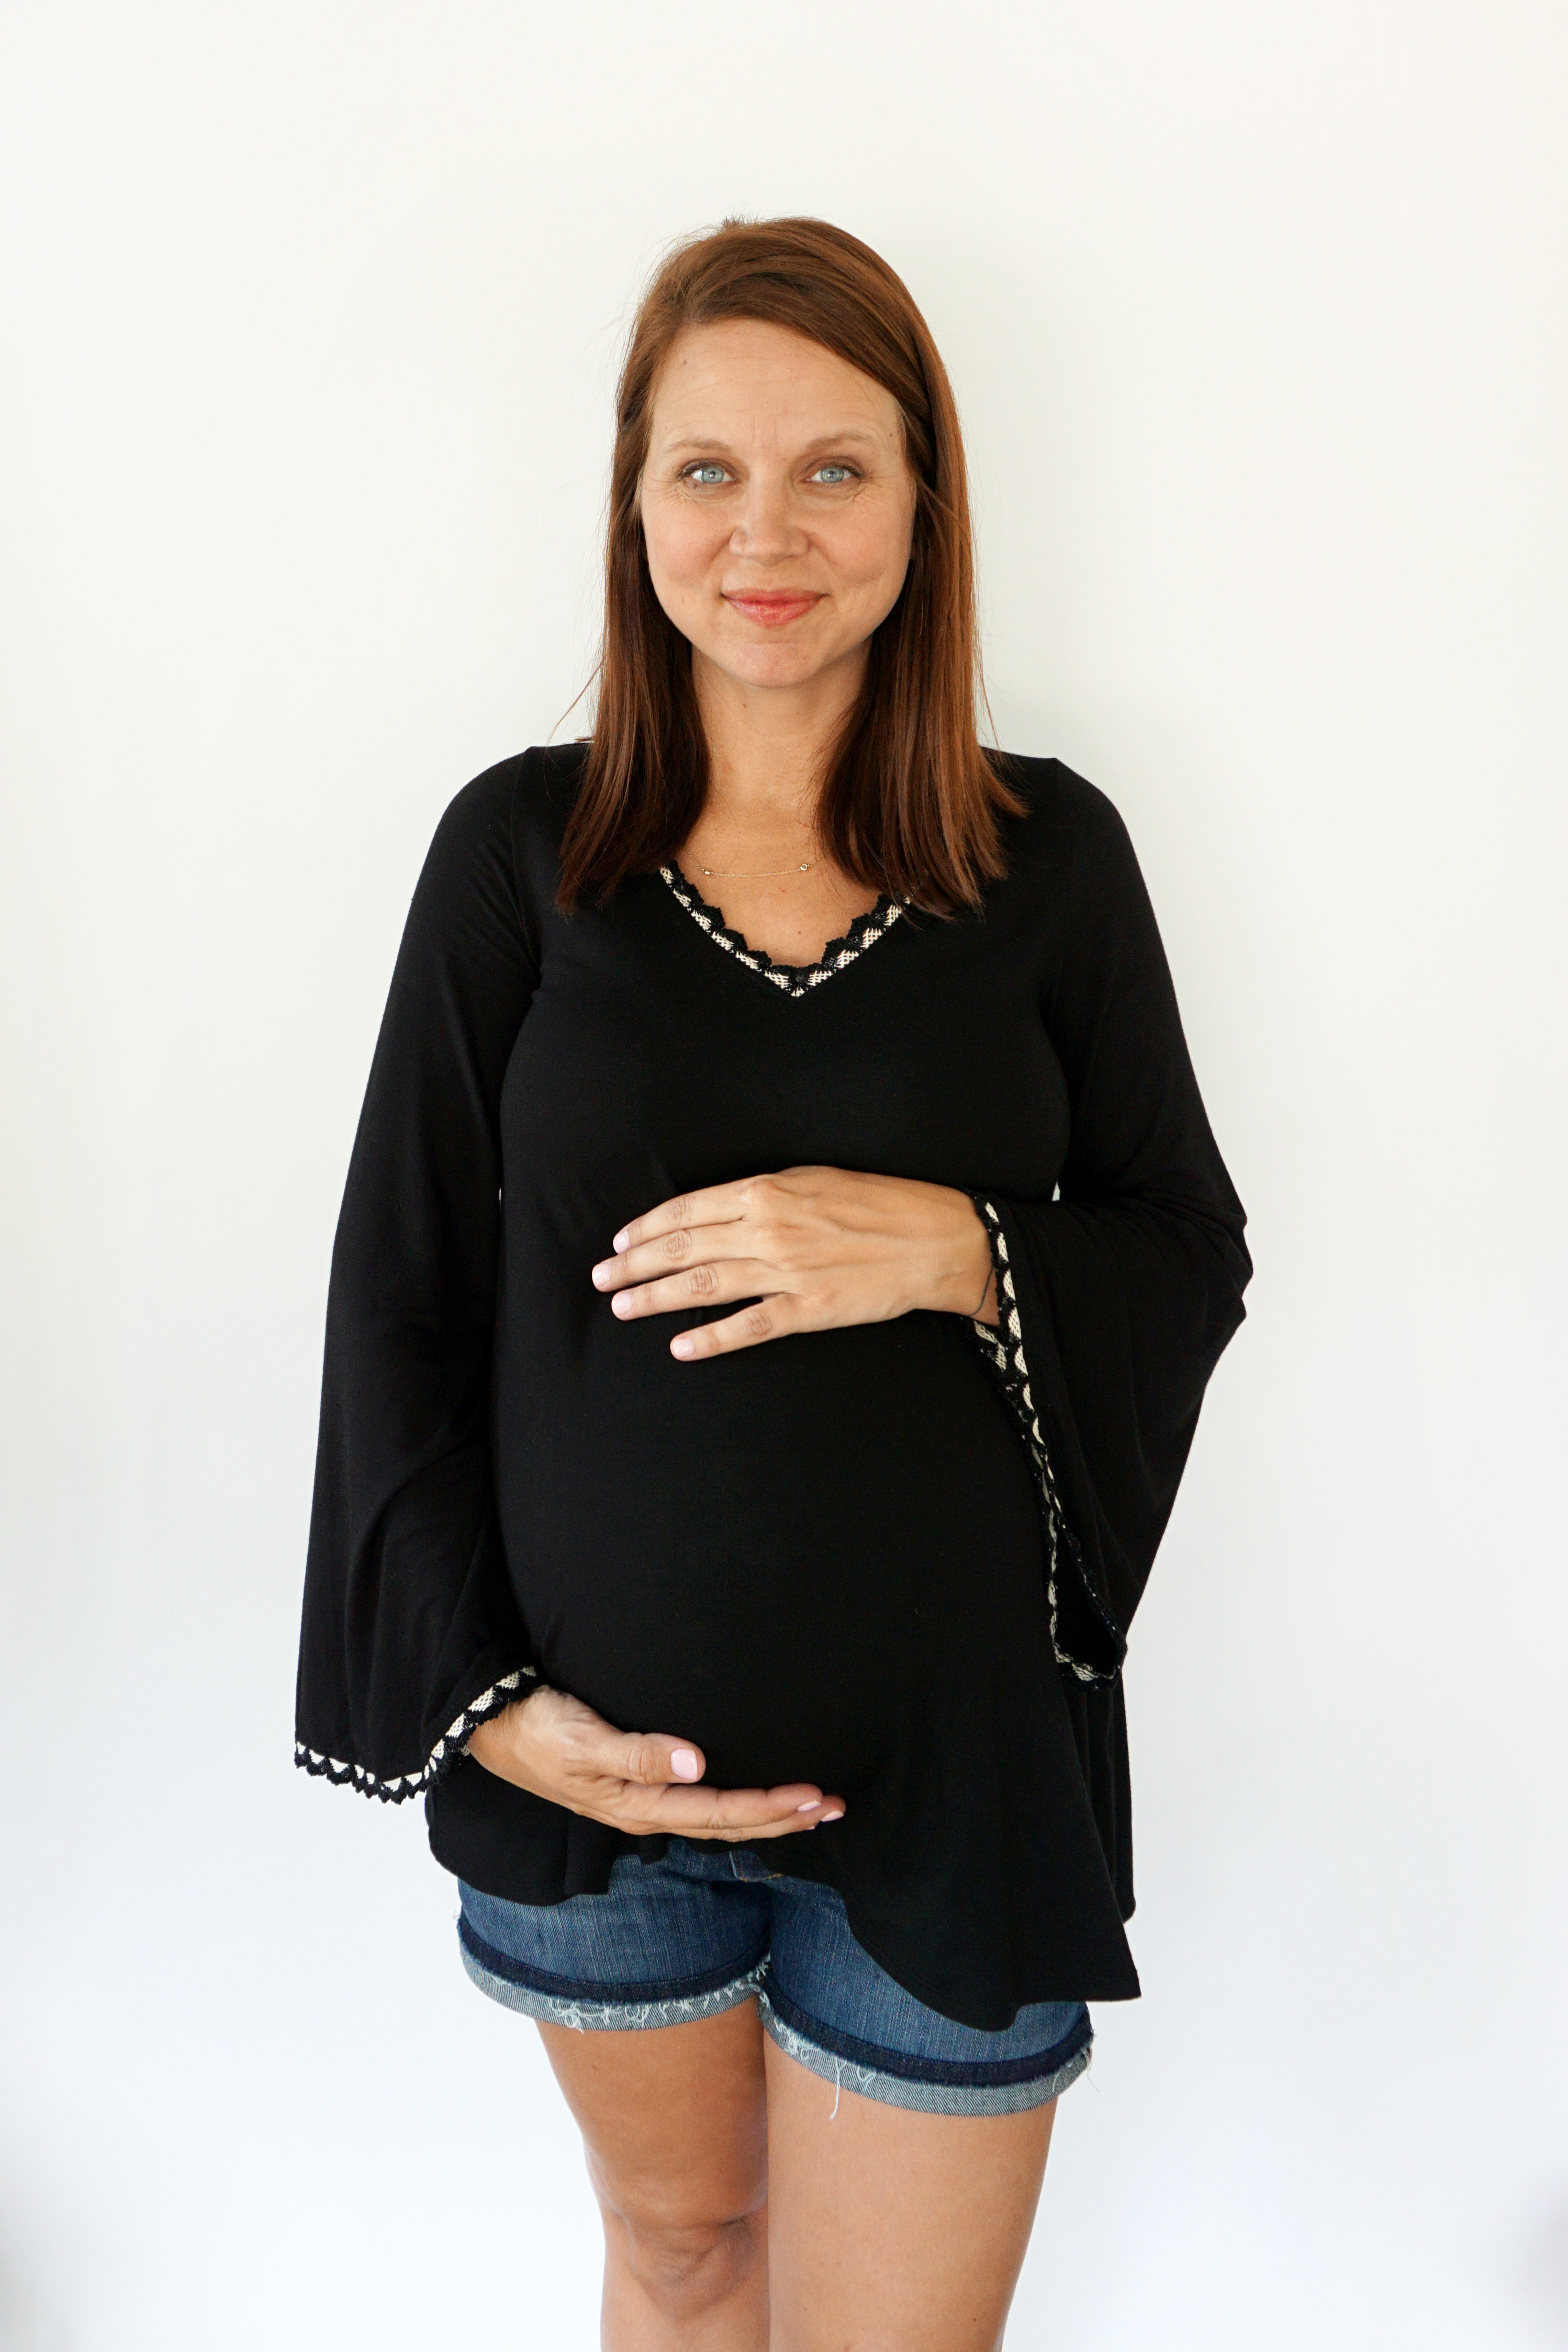
Not only does the color matter, but the silhouette is hugely important and I’ve tried really hard not to repeat an outfit in any of my photos. No I don’t have forty maternity outfit options, but it’s been fun to try and mix + match in a way that made any repetition less obvious. My go-to shop for maternity clothes this pregnancy has been PinkBlush Maternity. I’ve blogged about them so many times this year, but their clothes are so reasonably priced, super comfortable, and so much trendier than other options I’ve found. While I shouldn’t be adding to my maternity stash this late in the game, I woke up last week to realize that most of my tops are way too short at this point in pregnancy. It makes all of my pants look more like leggings, which isn’t exactly ideal for work. This Black Scallop Crochet Trim Long Sleeve Maternity Top is so soft and I’m hoping it will just look like a tunic when paired with black leggings in the fall, but it looks great with my maternity pants (and shorts!) for now. My only regret is not ordering it sooner!

Can you believe we only have TWO more bump photos to take?!