Affiliate links appear in the following post. Although shopping the embedded links won’t cost you any additional dollars, it might earn the blog a small commission. Your support of this space is always appreciated!
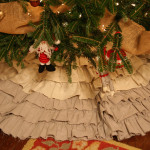
I spent much of the day Friday getting my holiday decorations finalized. I used to be that girl who waited until December to decorate. Then after we had kids, we started picking up our tree right after Thanksgiving. I decorated mid-November last year and I have to admit — it didn’t make me any less thankful on that Thursday and it was a huge help overall. We got to enjoy our lights a little longer and I wasn’t completely run ragged trying to unload ten plastic bins over a holiday weekend. I did something similar this year, adding a few things along the way for the last several weeks and ending with a bang when we picked up our tree over the weekend. It was like a glorious finale.
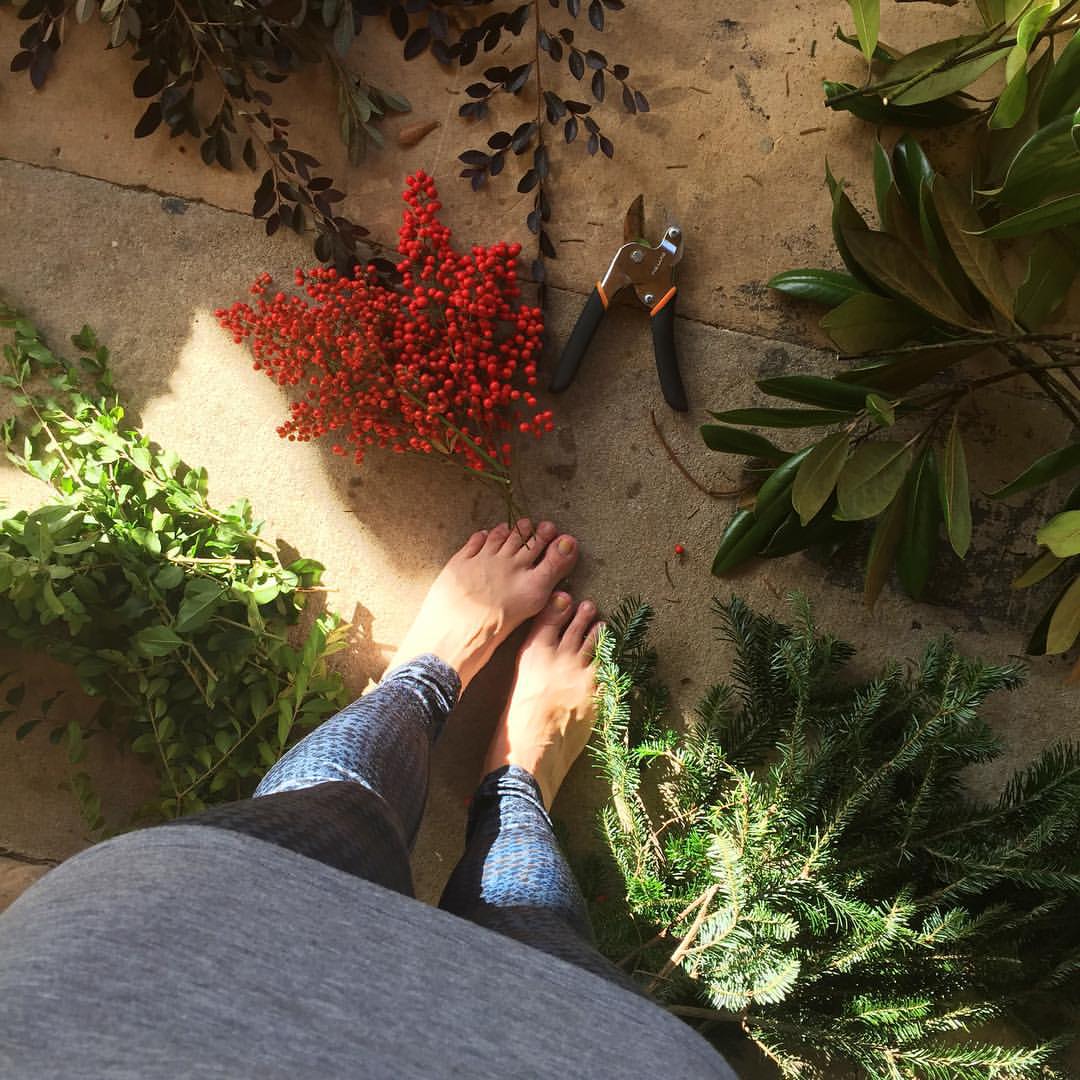
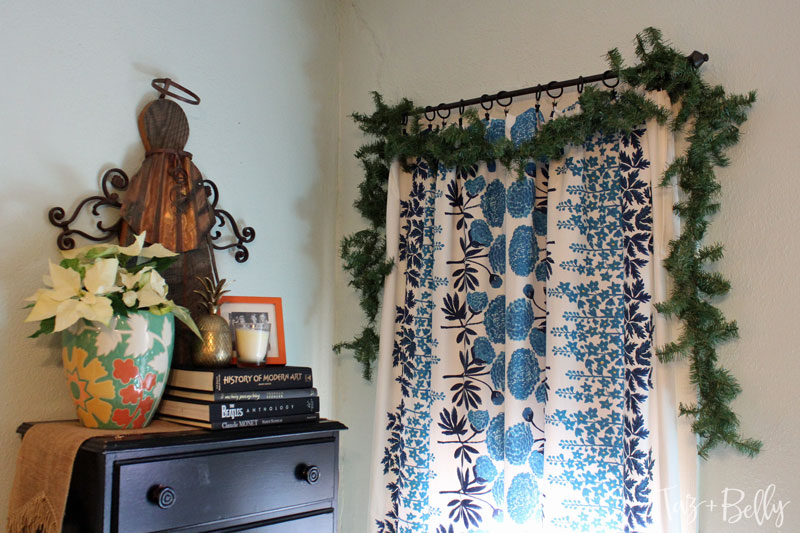
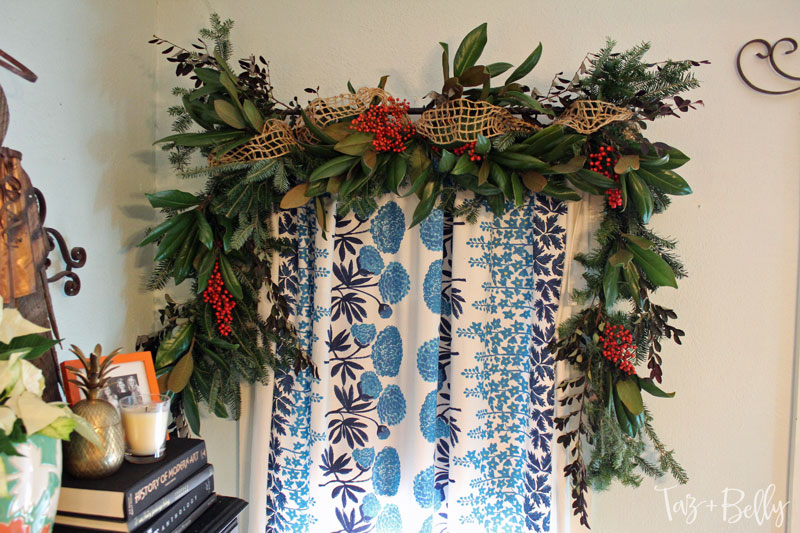
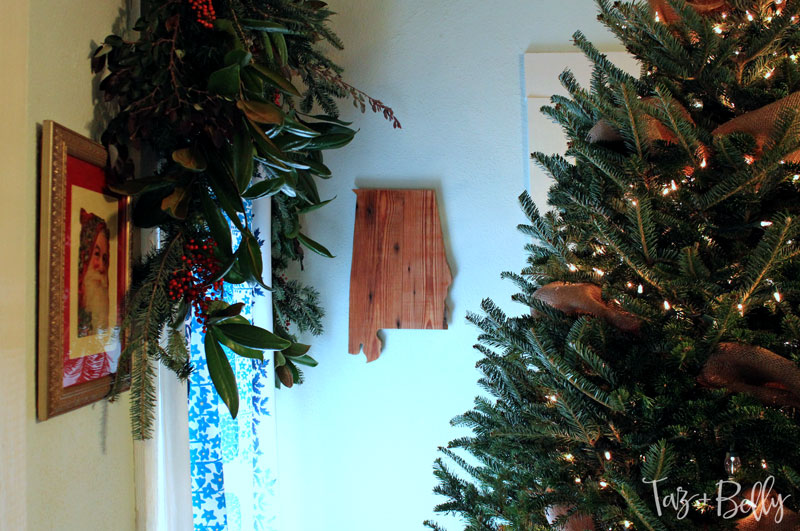
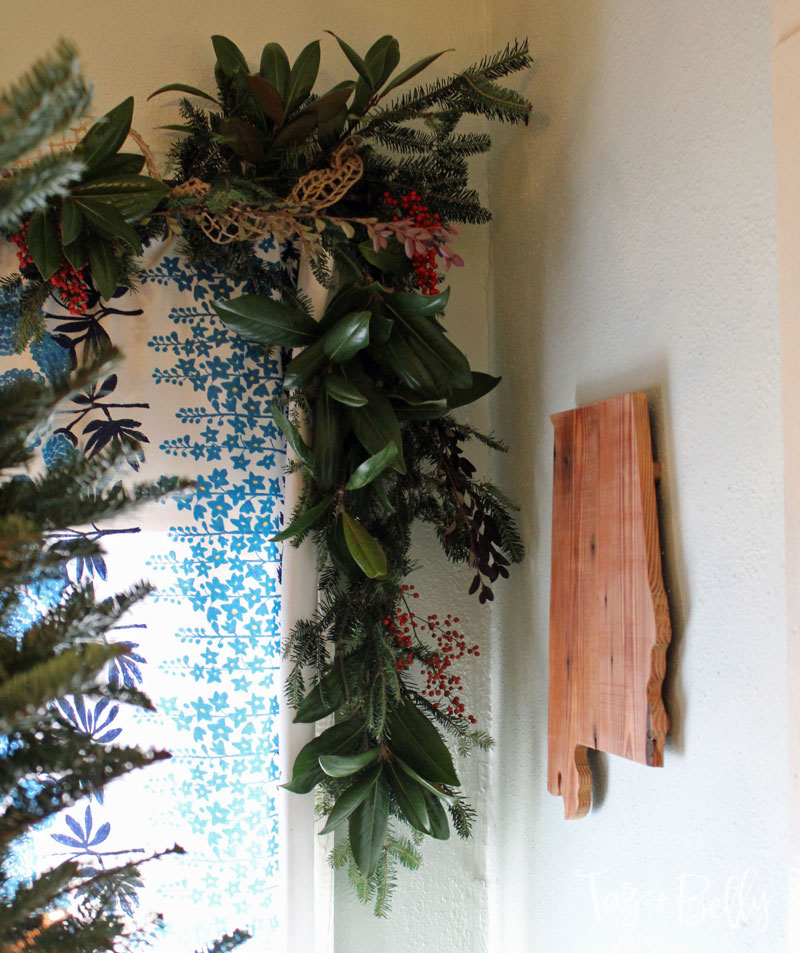
I shared this snap on Instagram before I started making some fresh garland for the windows in our living room. I finally had the tree up and we had a truck bed full of fresh cut fir branches and I wanted to put them to good use. In the past, I’ve made swags to hang over the windows (you can see last year’s attempt in this post), but I really wanted garland this year and was hoping for something a little loose and whimsical. In addition to the fir pieces, I cut magnolia leaves, loropetalum, boxwood and nandina berries. I wish I had access to some dried eucalyptus, but I was trying to work with what I had.
Believe it or not, my beautiful window garlands started as these scraggly pieces of wired garland from the dollar store. I’ve had them for several years, but you can find them just about anywhere and they usually come in 5-6 foot pieces for less than $10. I’m talking SUPER inexpensive here.
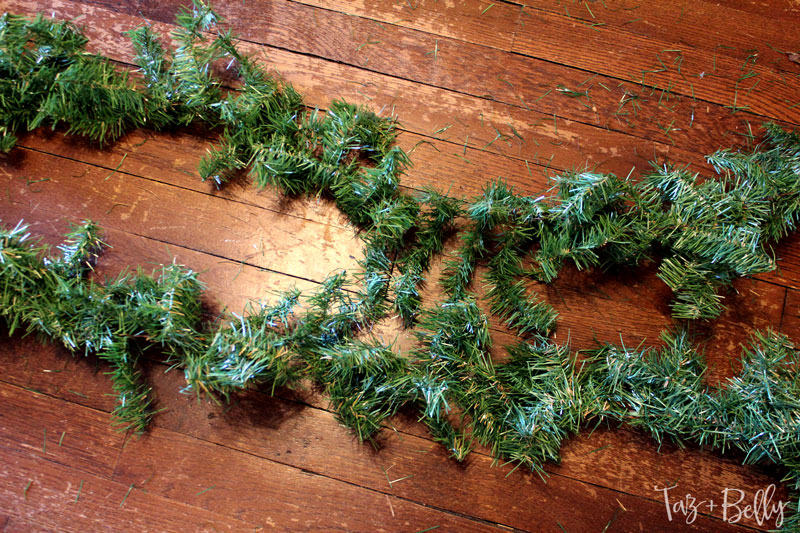
Step 1 To begin with, I just draped the garland over the iron curtain rods and adjusted them until I liked the way they were hanging. I centered them on the window, so they hang evenly on both sides, but if I had to do it over again I would probably make them a little less precise. You could anchor these somehow if you were worried, but I just twisted a few of the short wired pieces around the finials on both side and they seemed plenty secure!
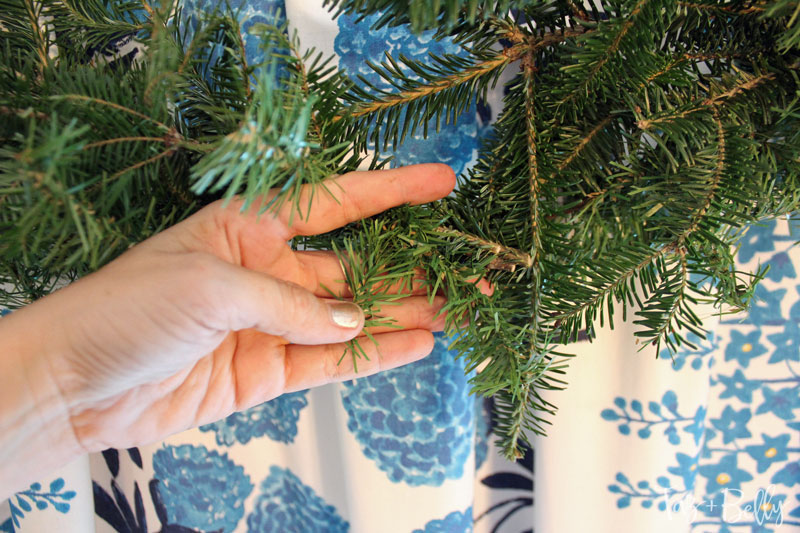
Step 2 I started with the evergreen branches. They were large and uneven (I just picked up arm fulls of scraps when we purchased our tree), so I trimmed them down to single branches and cut off the portion of the stems without any leaves. Using the wired branches of my garland, I secured them all along the garland, pointed in various directions so that it would be a little wild and imperfect.
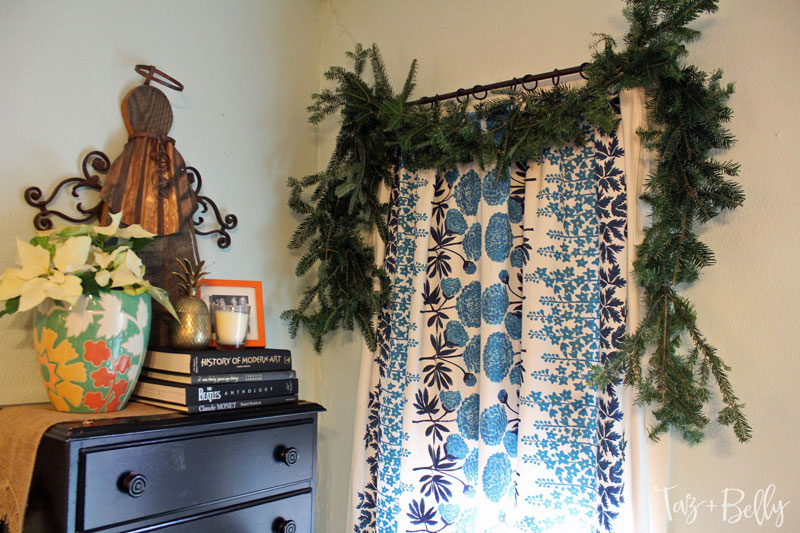
Using the wired garland means you don’t need to use any additional supplies to put these together and it is much quicker than cutting floral wire and attaching it all as you go. It was hard to photograph exactly what I was doing, but I just twisted two of the short wired pieces around the very bottom of each ever green branch and again in the middle or near the top to make sure it was secure and not too floppy.
Step 3 One of my favorite things to use when decorating for the holidays is magnolia leaves. We are so fortunate that our neighbors have two HUGE trees and I can trim them as much as I need during the holidays and you would never even know I had removed any branches! I will miss using them to decorate when we finally move. I attached the magnolia leaves in the same way I did the evergreen, filling in any empty spots and making everything nice and fluffy.
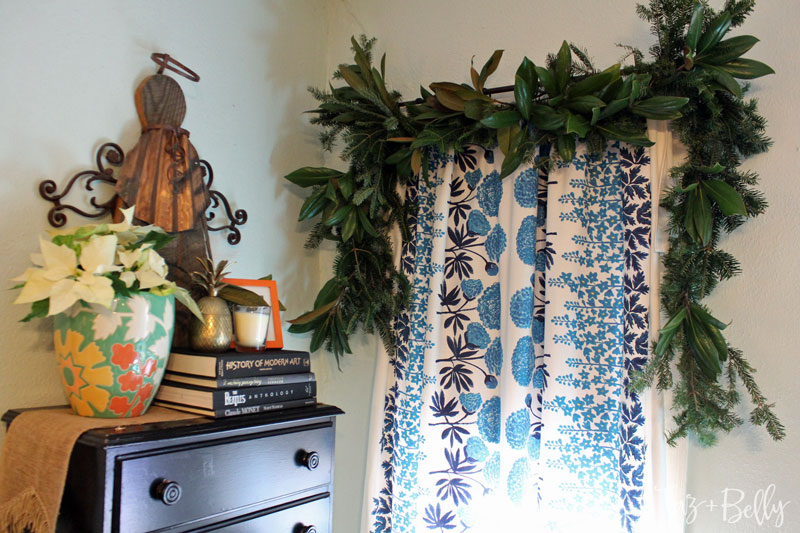
Step 4 Add in some smaller leaves of your choice, depending on what you have access to. I started to use boxwood, but it always seems to wilt pretty early in the season, so I cut some large pieces from our loropetalums instead. They are a dark purple color and don’t seem to curl up as they dry. I only added a few pieces of these, I just wanted a few pieces that would stick out of the basic silhouette I had established so far.
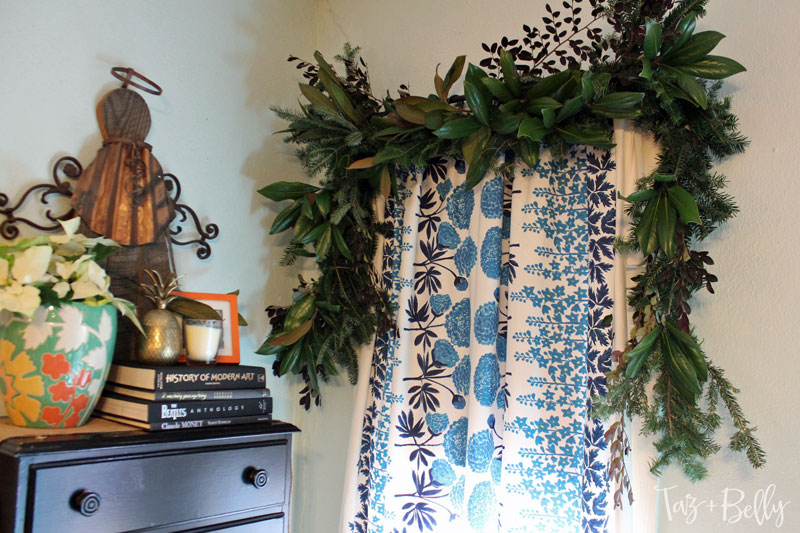
Step 5 Now to add some color. You could use silk (or dried) flowers, inexpensive floral picks or plastic berries. I have a big nandina bush near my front porch and the berries are always bright red and full just in time for holiday decorating. I had to use floral wire to secure these because the bunches were so heavy, but I love how the added color looks here!

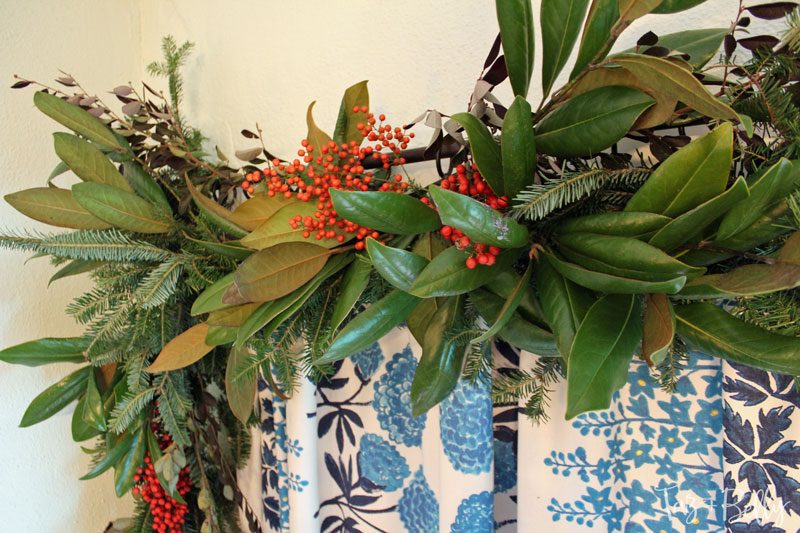
Step 6 At the last minute, I decided we needed a little ribbon and since I love using burlap and canvas because of their rustic look, I thought the burlap ribbon was perfect. I was hoping I would have enough to run the length of the garlands, but I was a little short. I just added it across the top section instead and I think it ended up being perfect.
I had some questions on Instagram about how well the garland would last and I need to admit that since there isn’t an easy way to water this, it might wilt a little bit. Using hardy greens that dry well will help — the evergreen and magnolia always seem to last all season and since these aren’t in a high-traffic area, I don’t even experience much shedding during the holidays. If the loropetalums start to look sad later in the month, I’ll just pull them out when necessary. You could also try spritzing them with a little water to keep them looking fresh.
I think these might be my favorite window decorations yet and it’s hard to believe they started with those ugly dollar store garlands! You would never know by looking at them (even up close) because the fresh greenery almost completely covers the plastic.
Join me back here tomorrow for a full holiday home tour! I finished up all of my decorations just in the nick of time and I’ll be sharing how we decorate every room in our house.