One my favorite things about Sophie’s party were the favors. While I had some store-bought candy to share with our guests, I knew I wanted to add a handmade element and these party crowns were the perfect addition. They were sparkly and quirky and they gave the girls a fun activity to work on once the gifts were opened and cupcakes devoured. Each one was beautiful and no two crowns looked alike.

Warning: Affiliate links appear in the following post. Although shopping the embedded links won’t cost you any additional dollars, it might contribute to an amazing party for one of my little ones. Your support of my obsession is always appreciated!
these in bulk and save a TON!), depending on the size and complexity of the design. Lay out a single pipe cleaner lengthwise on your work table {this will be the front base piece of your crown} and reserve another for the back piece. Begin twisting the additional pipe cleaners to make swirls, loops and hearts — sometimes we used full pipe cleaners and other times we cut them in half. Once all of your pieces are formed, lay them out in order above your base piece. Begin twisting them onto the base to secure. Depending on the height of your pieces, you might need to cut 1 inch pieces to connect them on the sides, or just twist them together before you fix onto the base. Once the front of your crown is complete. attach the back on one side before measuring around your princess’ head and securing the other side. Voila!

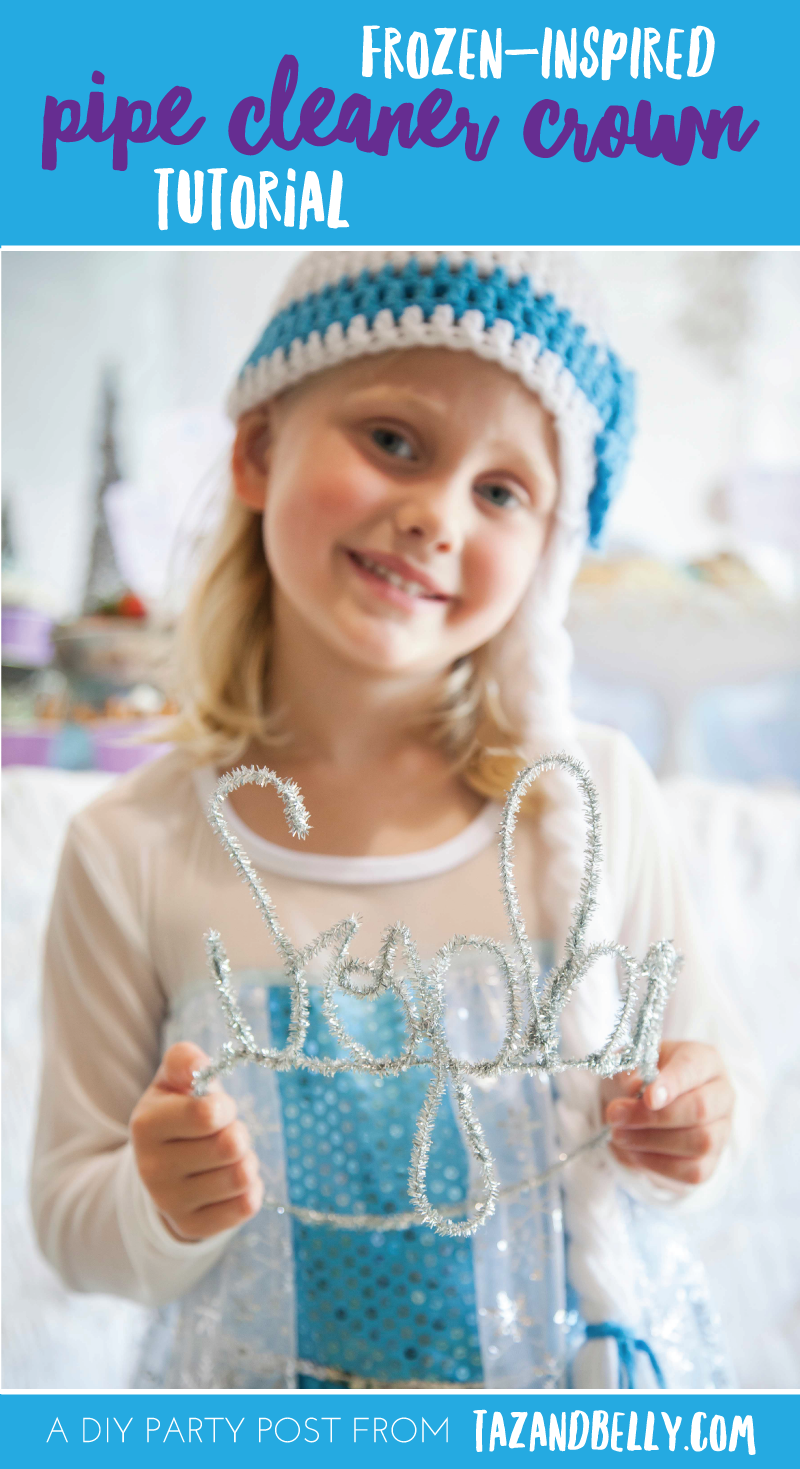
We practiced our designs all week and got so good before the party, that we whipped us this sweet little number with the princess’ name! The process is similar except I connected each letter together {like writing in cursive} and connected each letter to the base as I went.

Click Below to Pin our Pipe Cleaner Princess Crowns!
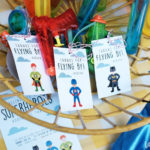
free printable favor tags and check out our other Frozen Party Posts here: DIY Frozen Winter Wonderland Party | Gran’s Famous Tea Cakes
here. Which is your favorite?!